Monday, March 6, 2017

Chair scrape made for Paul Hamler You Tube channel


Easy style chair scrape made with a few common hand tools.

Tuesday, January 24, 2017

CNC a Kentucky longrifle stock

Blank stocks Ready for CNC


Three fixtures for holding blank stock while being  machined.


One sixth scale 


For more details goHere


Wednesday, November 30, 2016

Small Draw Knife

I found an old jointer knife laying around the shop and had an AH HA moment. "That would
make a good draw knife blade"

It worked so great I made a champer guide for it.


Back view.
For an update on the miniature Wilton vises go https://hamlertools.smugmug.com/Hobbies/A-pantograph-project/


Screw heads are .2 inches engraved HT letter height is .062


Friday, January 29, 2016

  Even a blind squirrel finds an acorn occasionally !!!

Making a continuous closed loop sanding belt.


Old style sanding block on top  uses an open piece of paper.When front of paper wears you have to discard whole strip.
New design on bottom uses a continuous loop belt. When front wears the belt tension can be backed off enabling the belt to be rotated to a fresh spot.
The challenge was to be able to easily make the new continuous loop sanding belt for the new design block.  I'll provide a brief overview on making a continuous belt. For more details go HERE


Supplies needed to make a continuous belt.
Small section of cloth backed shop roll. 3M micro finishing film. The micro finishing paper is mi-liar backed.
A good brand of super glue.


A small section of the 3m micro finishing film is super glued to the cloth backed shop roll


Add glue to the other end.

Squeeze the joint.


I have found this splice using the mi-liar paper on a cloth backed shop roll makes an extremely tough and strong joint. I use the same process for belts that are power driven.

Because the mi-liar accepts super glue so well I have had great success with different belt materials other than a cloth back paper. 


Tuesday, January 6, 2015

Quick and dirty Spring Winder

Making small springs for miniature Colt


 The winder was fabricated using some scrap 80/20 parts in the scrap bin and a 5C spin fixture.Using a tail stock type support for the extra small mandrels will enable me to turn those extra small compression springs for the miniature Colt 1911.
The split Boxwood and brass thumb screw provides a safe and clean way to adjust tension on the piano wire as it is being rolled around the mandrel


 Above picture shows a rectangle mandrel installed for forming the rectangle magazine spring.


The spring above was "Stressed Relieved" before removing spring from the Mandrel.
This prevents the spring from being distorted when removed.To see what a non stress releived rectangle spring looks like and more pictures of the spring winder go.HERE 
The spring winder photos are at the end.  

 .  

Monday, September 29, 2014

New design sanding block that has the ability to tighten the sand paper after installing .The design will support almost any thickness of paper.
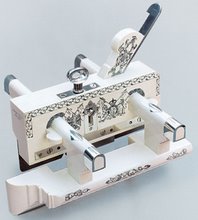

For more info go HERE

Sunday, September 21, 2014

Thursday, July 10, 2014

Miniature Colt 1911 and New Style Mold frames

This is the first casting of the receive and slide,scale is .375


Above picture is all the 1911 parts that were 3D Printed. RTV molds were  made from these. 


For more pictures of the 1911 go HERE


A few mold frames used for making RTV molds for the 1911 parts.
For more details go to Mold Frames
 

Saturday, August 10, 2013

A few Pantograph projects


I offered to machine a friends 4 inch vise kit if he bought me one. He came out OK as the casting Kits were a little more involved than I had planned.
The overall length of the Wilton bullet vise kits is 4 inches. I decided to make a 1/2 scale of the kit with a few modifications. My castings will have the original Wilton logo and will have the female key way cast into the body eliminating a tedious broaching operation for the movable jaw. 


  For current updates go HERE 1


Saturday, May 25, 2013

Last Run of Scrapers

Please note as of 1pm EST on 06/02/2013 all inserts are sold out.

Following a spring cleaning of the shop I found a batch of castings for the Stanley "Bailey" and decided to finish them up. For more pictures on the project go Here
To see Chris's review go to Chris
Or see what Walt Q had to say Walt
 
Also finished a few more of the chair scrapers. See April 2011 post on this blog or go to chair scrapers
For pricing and availability e mail me at hamlertools@windstream.net


Tuesday, November 29, 2011

Cerro metal molds


I reached a point in my 1/3 scale wheel lock project where I had all the master parts made and was ready to cast multible parts. In all my past miniature projects I have made various type molds for injecting the wax to be used for investment casting. For the wheel lock I decided to use plastic parts instead of wax because of the greater detail and sharp corners that can be achieved with plastic. In order to inject plastic into a mold I needed a mold material that could hold up to the higher temperatures and pressures used with a plastic injection machine. Following are a few photos of the mold making process and the cheap press I made from scrap parts, It is used to compress the Cerro metal quickly after the molded Cerro is poured in the mold. This compacts the Cerro metal causing a tighter crystal structure in the metal which produces extremely fine detail.Another benefit of the cerro molds is the expansion of the eutectic metal thus parts that are not smaller due to mold shrinkage, the cerro also cools the injected wax or plastic very quick which reduces cycle time of making parts.
To see the 1/3 scale wheel lock project go to Miniature Wheel Lock


Wednesday, May 18, 2011

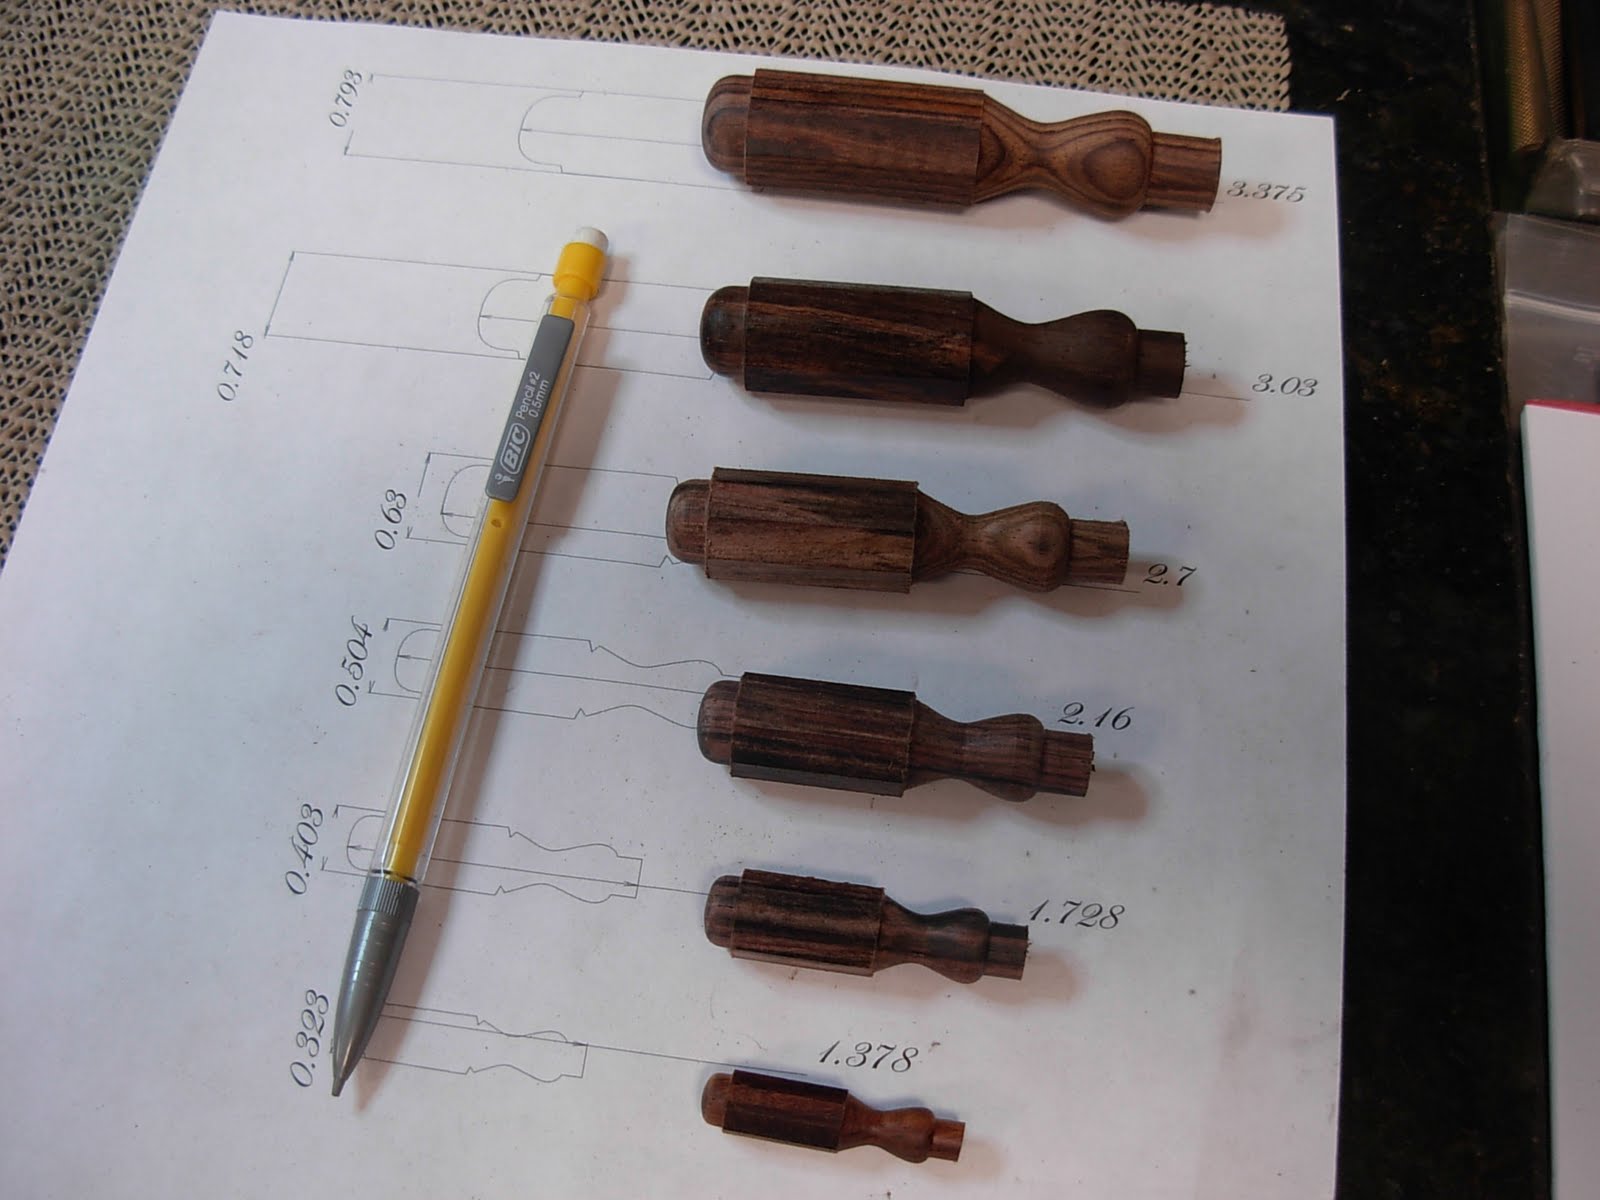
New Handles for Small Carving Tools


For More pictures Go HERETo see more details go Here